Garden Border Gravel: Edge Material Sizes & Quantities
A well-defined garden border transforms your landscape by creating clean edges and preventing grass or mulch from spreading. This guide explains what a garden border is, which materials you need, how to design and lay it out, how to install it step by step, and how to estimate the amount of gravel required. Whether you are creating a new flower bed border or refreshing an existing one, use the sections below to find what you need.
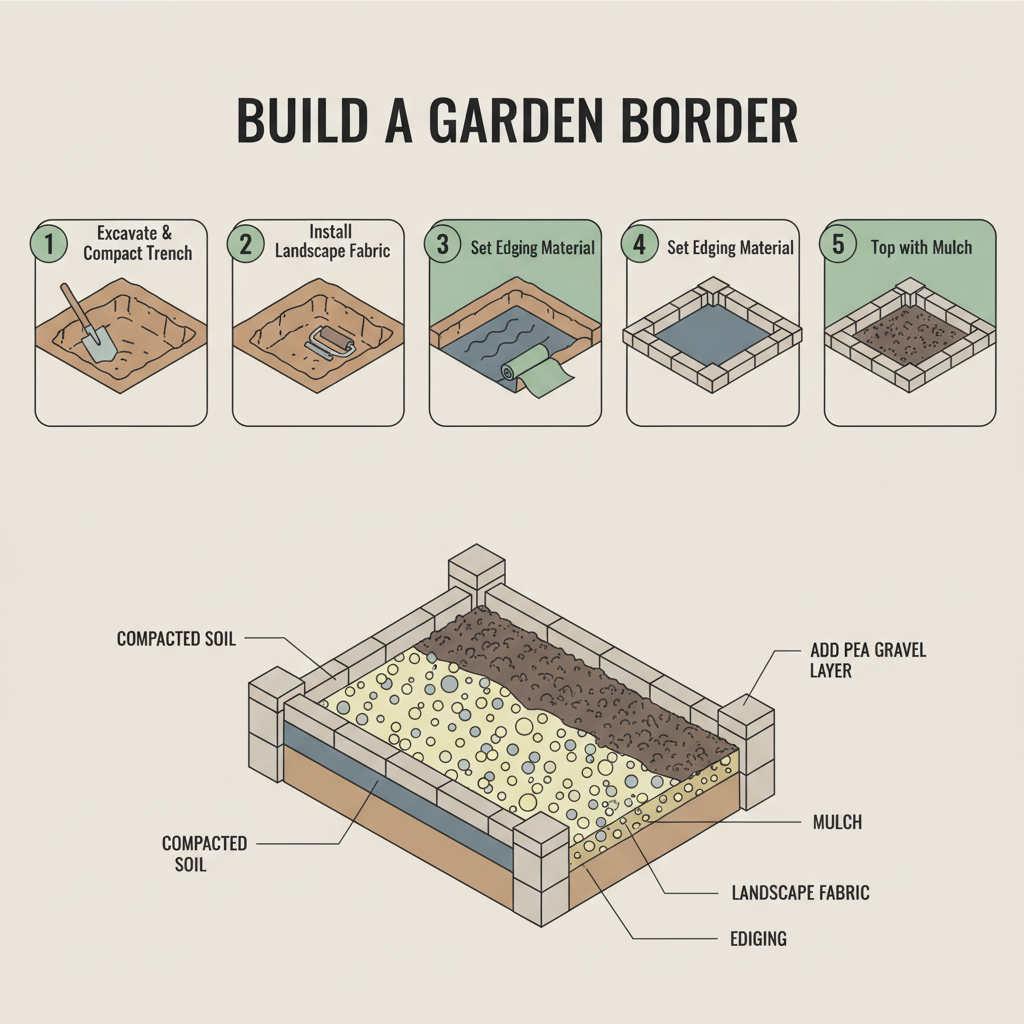
See How to Build a Garden Border
This visual guide walks you through the five key steps to install a clean, long-lasting garden border, from excavation to adding the final decorative mulch layer. It clarifies the proper installation sequence and shows the essential layered structure—compacted soil, edging, landscape fabric, pea gravel, and mulch—so you can build with confidence.
Gravel for Garden Borders: Best Materials, Depth, Cost & How to Build
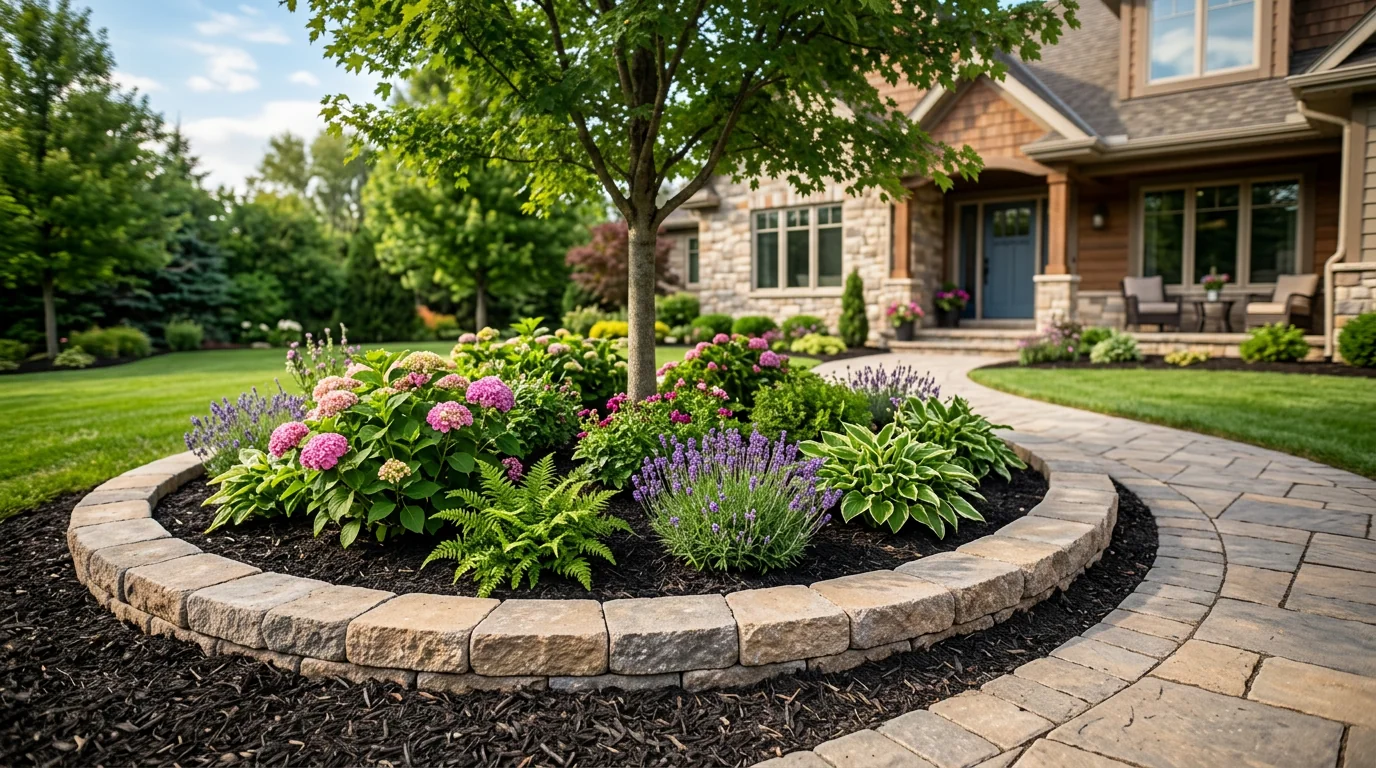
A garden border is a 2–3 inch ribbon of 3/8 to 5/8 inch pea gravel along the edge of a planting bed, with metal or plastic edging on the lawn side. A 50-foot border takes about 0.5–1 cubic yard of pea gravel. The gravel-and-edging combo keeps mulch from washing into the lawn and grass from creeping into the bed — saving you from re-edging with a shovel every spring.
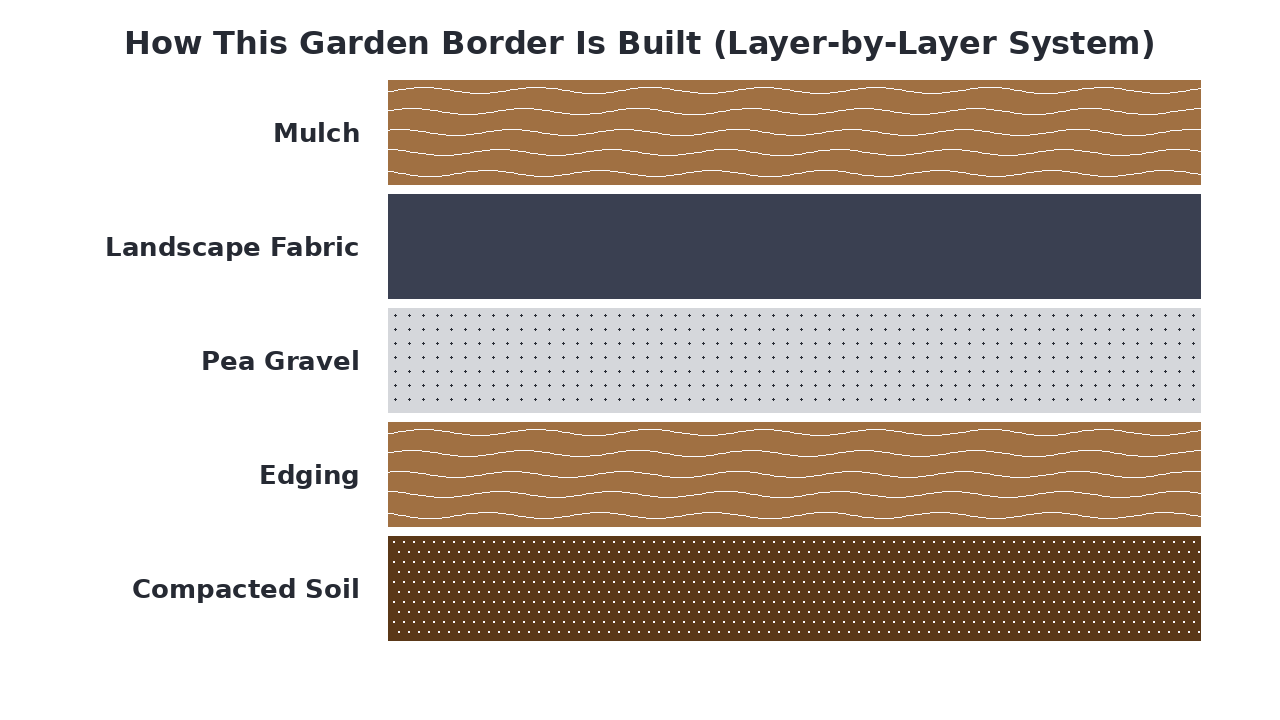
How This Garden Border Is Built (Layer-by-Layer System)
This garden border uses a simple layered system to create a clean separation between lawn and planting beds while preventing soil migration and weed growth. The structure begins with compacted soil at the base, followed by edging that defines the border's shape, and is filled with pea gravel for a decorative finish. The pea gravel layer provides both visual appeal and functional drainage, allowing water to flow through while keeping the border tidy. Proper installation ensures the edging remains secure and the gravel stays in place season after season.
Materials Breakdown: What Each Layer Does
A garden border is constructed as a layered system where each material serves a distinct purpose to create a clean, stable, and attractive edge. The bottom layers provide a solid foundation and prevent weeds, while the top layers offer decorative appeal and moisture retention. Together, these components work to define the planting area, suppress unwanted growth, and improve drainage for healthier plants.
Compacted Soil
The prepared and firmly packed native soil that creates a stable, level base for the entire border installation.
Plastic or Metal Edging
A physical barrier installed at the border's edge to keep gravel and mulch contained and prevent them from spilling into the lawn.
Pea Gravel
A layer of small, rounded stones that provides drainage and creates a clean, decorative separation between soil and mulch.
View Pea Gravel →Landscape Fabric
A permeable geotextile that suppresses weed growth while allowing water to drain through to the soil below.
Wood Chip Mulch
The top decorative layer that helps retain soil moisture, regulates temperature, and gives the border a finished appearance.
What Is a Garden Border and Why Does It Matter?
A garden border is a 2–3 inch ribbon of 3/8 to 5/8 inch pea gravel along the edge of a planting bed, usually with metal or plastic edging on the lawn side to keep grass from creeping in. A typical 50-foot border takes about 0.5–1 cubic yard of stone. Without it, lawn grass slowly invades the bed and mulch washes into the lawn — and you re-edge with a shovel every spring forever.
Common Types of Garden Border Systems
Garden borders come in several styles, each with different materials and installation methods. Simple trench edges are quick and cheap but require regular maintenance to keep their shape. Plastic or metal edging provides a more defined barrier but can be less attractive and may shift over time. Gravel borders with proper edging offer a durable, low-maintenance solution that also improves drainage while creating a clean, natural look.
- Simple and inexpensive
- Quick to install
- Requires frequent upkeep
- Can erode easily
Best for:Temporary or low-budget solutions
- Creates sharp definition
- Moderately durable
- Can shift or warp
- Less natural appearance
Best for:Formal gardens with straight lines
- Excellent drainage properties
- Low maintenance requirements
- Natural, attractive appearance
- Permanent, durable solution
- Suppresses weed growth
Best for:Long-lasting, functional garden borders
- Highly decorative look
- Very durable and stable
- More expensive installation
- Requires precise leveling
Best for:High-end landscape designs
When a Garden Border Is the Best Solution
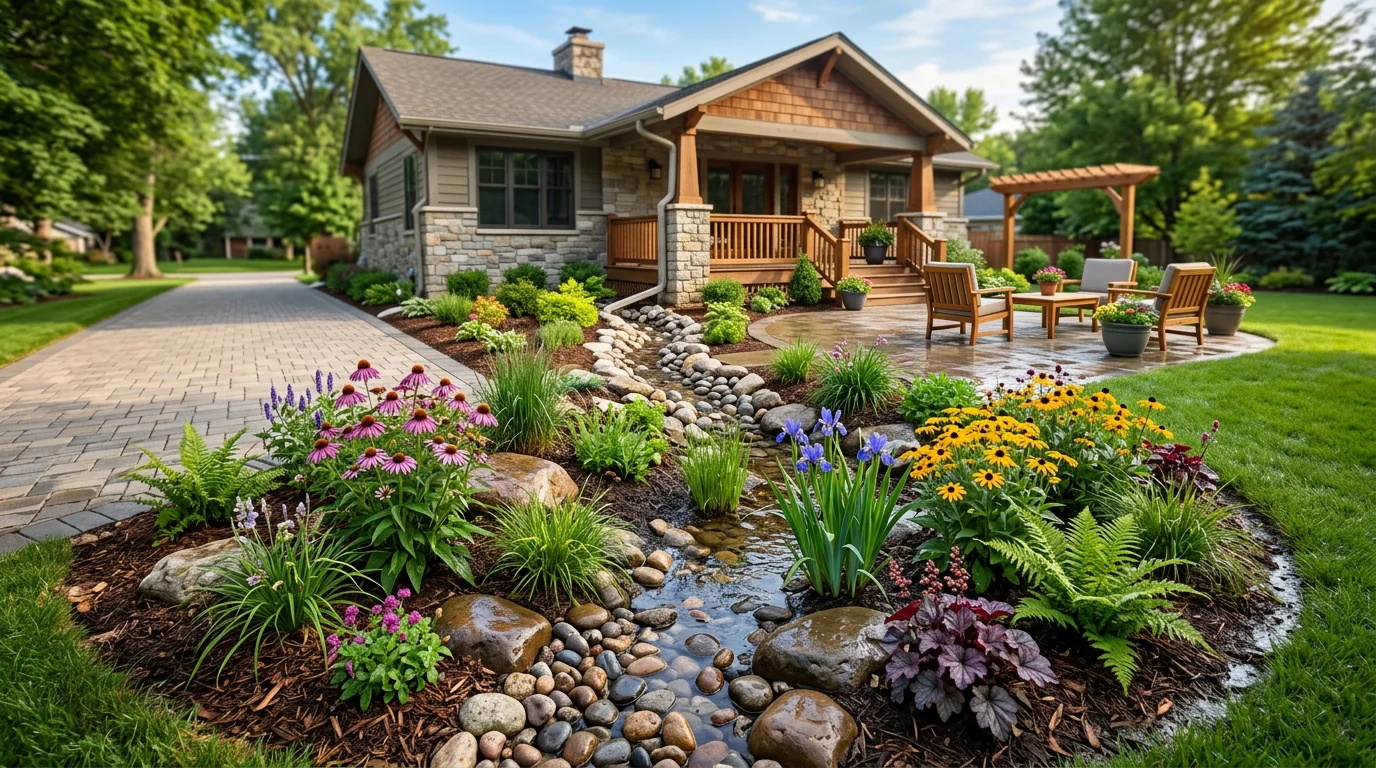
A gravel garden border is ideal when you need a permanent, low-maintenance solution that handles drainage well. It's perfect for separating planting beds from lawns while preventing soil migration and weed encroachment. This option works great for homeowners who want a natural aesthetic without constant upkeep, and it's particularly effective in areas with heavy rainfall where proper drainage is essential. The gravel border provides both functional separation and visual appeal that lasts for years.
Everything You Need to Build a Garden Border
Building a garden border requires a few key materials to create a stable, weed-free foundation and an attractive finish. You'll need foundational materials like compacted soil and landscape fabric, followed by edging to define the border, and finally decorative surface materials such as pea gravel and mulch. Essential tools will help you excavate, level, and install the layers efficiently.
- Compacted soil, Landscape fabric, Edging, Pea gravel, Mulch
- Shovel, Rake, Hand tamper, Utility knife, Measuring tape, Wheelbarrow
- Home Depot (tools), A contractor supply store (edging), Hello Gravel (mulch, pea gravel)
What to Consider Before You Start
Before digging in, take a moment to review these key planning considerations to ensure your garden border is successful and long-lasting.
- Border layout and dimensions
Decide on the exact shape, length, and width of your border, marking it clearly with spray paint or garden hose.
- Soil preparation and drainage
Check the soil condition in the border area, ensuring it is level, compacted, and slopes slightly away from structures for proper drainage.
- Material quantity estimation
Calculate the amount of pea gravel, mulch, and other materials needed based on your border's dimensions to avoid multiple trips.
- Edging type and installation
Choose an edging material (metal, plastic, stone) and plan its installation method to securely contain the gravel and mulch.
- Utility and irrigation lines
Locate any underground utility lines or irrigation systems to avoid damaging them during excavation.
How to Prepare the Ground for a Garden Border
Begin by clearing the area of any existing vegetation, debris, or old edging material. Mark the desired border line using a garden hose or spray paint, then excavate a shallow trench along this line to create a level base. Grade the trench so it slopes slightly away from your garden beds to promote water runoff. Finally, compact the soil in the trench using a hand tamper to create a firm, stable foundation for the edging and subsequent layers.
How a Garden Border Works
A garden border functions as a layered system where each component serves a specific structural purpose. The compacted soil base provides stability, while landscape fabric acts as a weed barrier that still allows water drainage. Edging creates a physical boundary that contains the decorative pea gravel and mulch layers, preventing migration into planting areas. The top layers of pea gravel and mulch offer aesthetic appeal while helping retain soil moisture and suppress weed growth.
How to Install a Garden Border
Excavate & Compact Trench
Dig a shallow trench along your marked border line and compact the soil firmly with a hand tamper.
Install Landscape Fabric
Line the trench with landscape fabric, overlapping seams by several inches to create a continuous weed barrier.
Set Edging Material
Place your chosen edging material (metal, plastic, or stone) into the trench, securing it according to manufacturer instructions.
Add Pea Gravel Layer
Pour a 1-2 inch layer of pea gravel over the landscape fabric inside the edging boundary.
Top with Mulch
Spread a decorative layer of mulch over the pea gravel to complete the border's appearance.
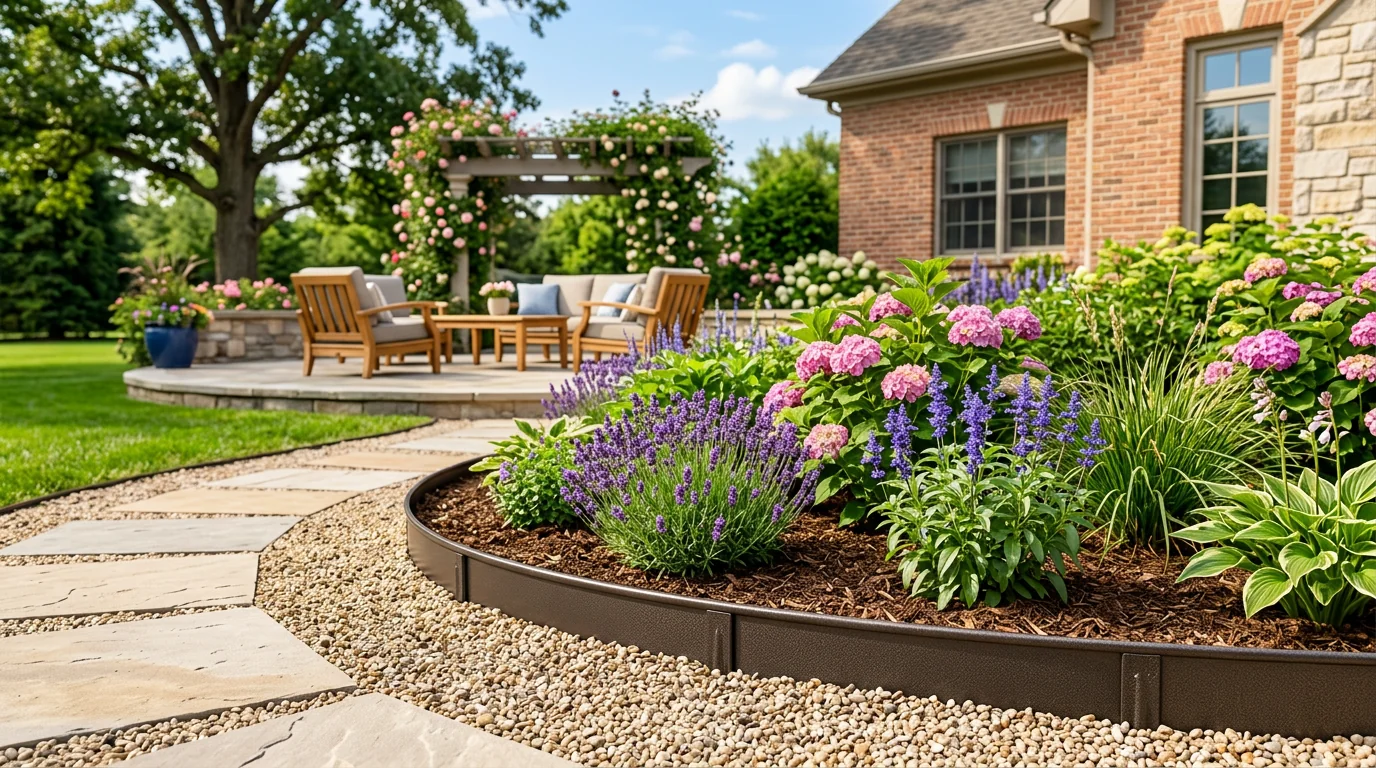
Alternative Gravel Options for Garden Borders
For garden borders, several aggregate options can serve as the primary layer, each offering different benefits in terms of stability, drainage, and aesthetics. Pea gravel is often the top choice because its smooth, rounded stones are comfortable underfoot, allow for good drainage, and come in attractive natural colors that blend well with garden settings. While larger river rock provides a bold decorative statement and crushed granite offers a more compacted, stable surface, pea gravel's versatility and ease of installation make it the recommended option for most homeowners.
Smooth, rounded stones ideal for comfortable drainage and a clean aesthetic in garden borders.
View Product →Larger, polished stones that create a dramatic, decorative edge but can shift more easily.
View Product →A compactable, stable material that provides excellent weed suppression and a natural look.
View Product →Angular aggregate that locks together well for structural stability in borders.
View Product →Organic material that decomposes quickly and lacks the permanence needed for a durable border.
View Product →Common Garden Border Mistakes (And How to Avoid Them)
Even a well-planned garden border can fail if common installation errors aren't avoided. These mistakes typically involve preparation, material choice, or ongoing maintenance that compromise the border's function and appearance.
- No weed barrier
- Insufficient base depth
- Poor drainage planning
- Wrong aggregate size
- Neglecting edging support
How to Maintain a Garden Border
Regular maintenance keeps your garden border looking crisp and functioning properly. Every few months, rake the gravel surface to redistribute stones and remove debris that could trap moisture. Add fresh gravel annually to compensate for natural settling and erosion, especially after heavy rains. Check and reinforce any edging material that may have shifted, and promptly remove weeds that penetrate through gaps in the barrier.
Calculate How Much Gravel You Need
Enter Your Dimensions
Measure your project area and we'll calculate how much material you need.